QuickAdvice: Create Real 3D Photos with 3D Camera

3D Camera ($1.99) by Juicy Bits is an app that does just one thing, and does it well: creates 3D photos. Love it or hate it, 3D is here to stay. I thought it was dead for a while, after the cheesy 3D films of my childhood, but Avatar brought it right back to the front and center of pop culture. Want to get in on the trend? Well, I don’t know how to make a 3D movie, but you can certainly create your very own authentic 3D (and mock 3D) photos.

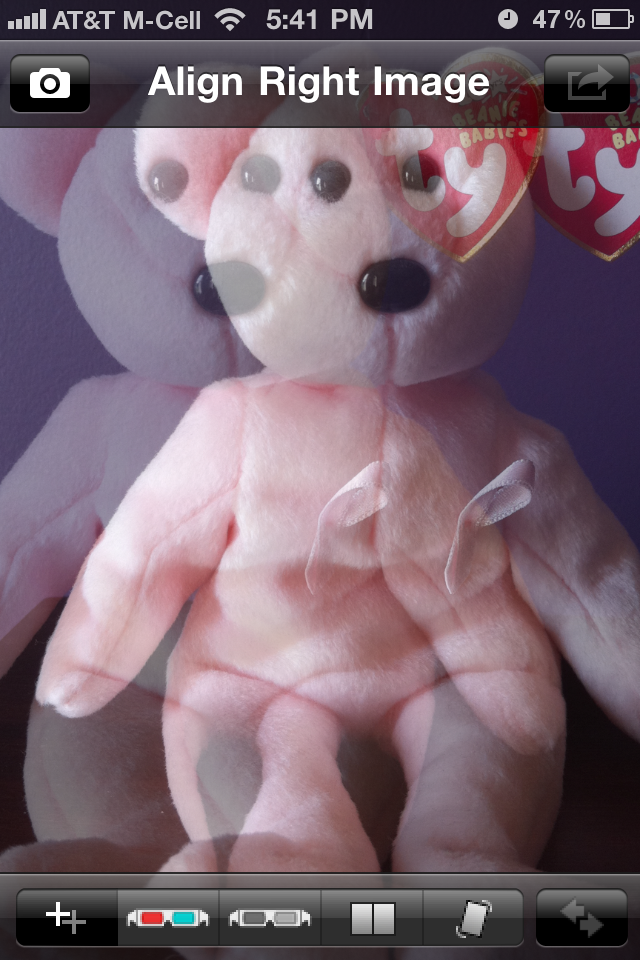
When you open up the app, you’ll get brief instructions on what to do. Basically, you just tap the camera icon to take a photo (called “Left Image”), then carefully move your iPhone a couple of inches to the right, and take another (“Right Image”). You get a ghost image and an optional grid overlay (via the “+” button) to help you keep the phone level. If you wish, you can also use two photos from your album -- if you happen to have any that were taken right next to each other. This is actually helpful, once you are familiar with how to take “left” and “right” photos. If you are in a situation you want to photograph for 3D Camera but you don’t have time to hunt down the app -- simply take your pictures now and put them into 3D Camera later.
Here is the important step I was missing the first time I tried it out, as isn’t entirely clear in their instructions: You grab the “right” photo (the second one you took) and place on top of the “left” photo, drag and drop, so that at least part of the “right” and “left” photos are perfectly aligned. Don’t worry that the whole thing isn’t aligned; some of it needs to be different in order to get the 3D effect. Then you’re done! The double plus button in the bottom left corner simply switches which image is on top. I didn’t find that it makes much of a difference.
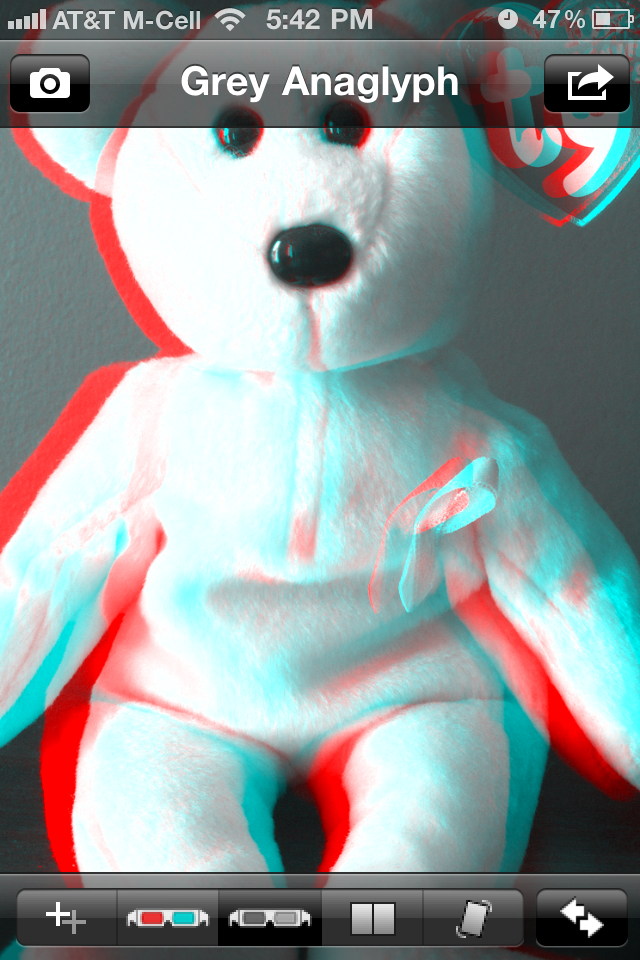
Now comes the fun part, viewing your photo. To see your 3D photo in true 3D, you’ll need those funky cardboard red and blue glasses. These are technically called red/cyan, or anaglyphic if you want to get fancy. If you happen to have some lying around, great, put them on. If not, you can get them for free by sending a self-address stamped envelope here (this website also has a detailed explanation of what 3D actually IS) or here (this website has several different styles of free glasses from which to choose). There are two 3D glasses icons at the bottom, try each one in turn for different effects. You’ll need the glasses on for both of them.
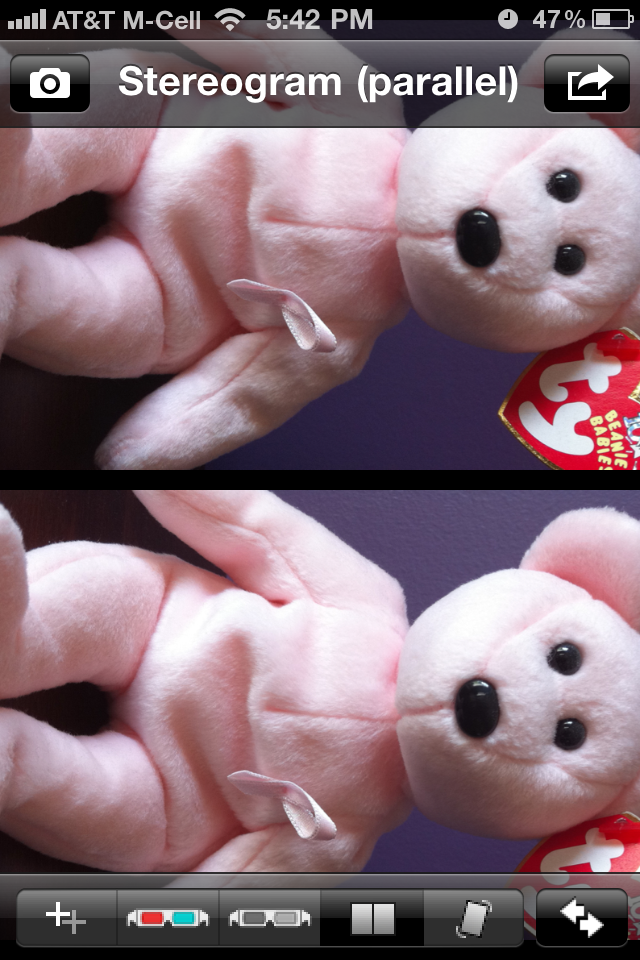
Don’t have (or want to deal with) the 3D glasses? Try the stereogram instead -- tap the side-by-side rectangles. Remember those Magic Eye images that were all the rage about 10 years ago? Where you unfocus your eyes at a picture and a magic image appears? Yeah, I could never do that. But if you can, or would like to try, here are instructions on how exactly to do it.
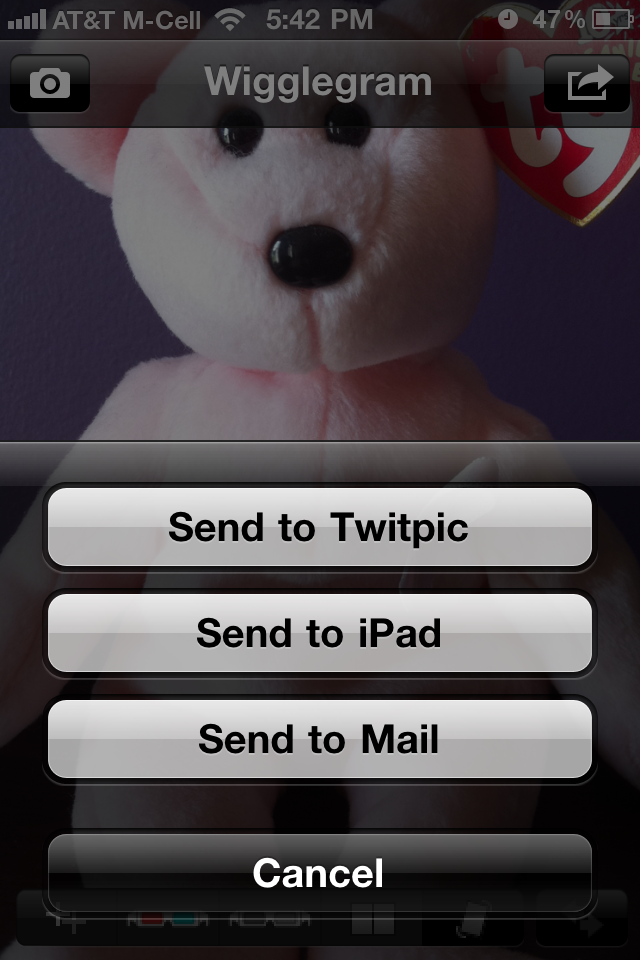
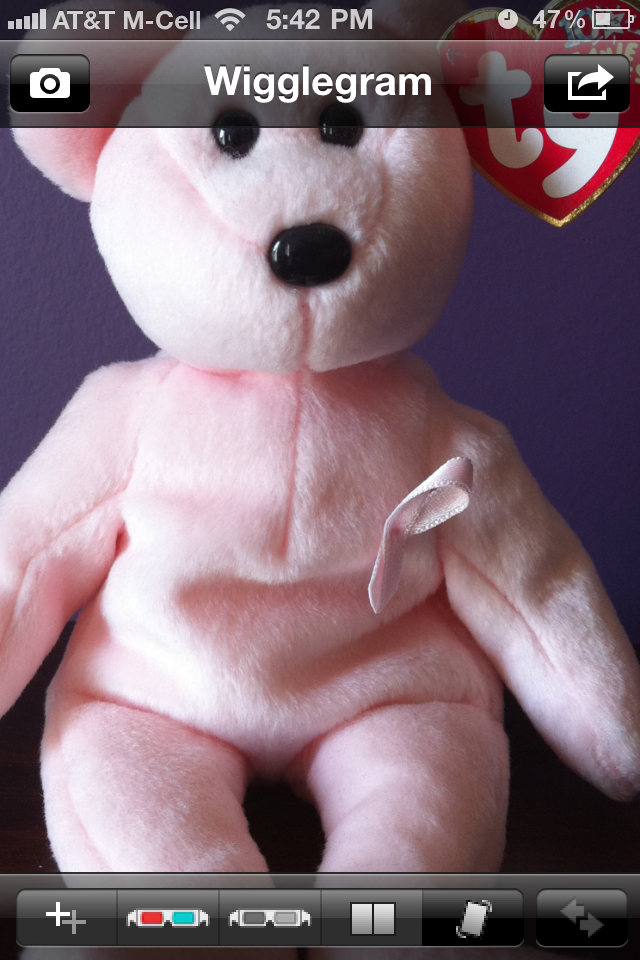
But wait, there’s more! Whether or not you have the glasses, or the ability to view stereograms, you can always do the wigglegram! Tap the wiggly looking rectangle to get this “simulated 3D effect”. Really it’s just switching back and forth b/t images so fast it looks like your picture is wiggling. Well, it’s not all that 3D, but it is pretty fun and doesn’t require any equipment or eyeball gymnastics to see it.
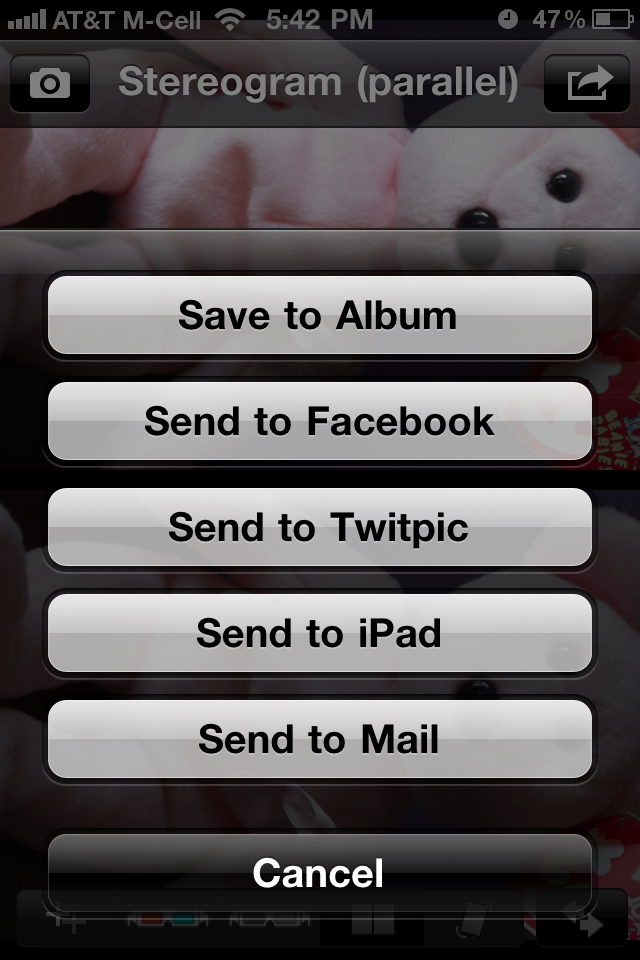
Share your results on Facebook, Twitter, or email. If you’re into it, you can join 3D photo communities on Flickr and other sites. Who knew there were so many 3D enthusiasts out there? Now it’s easy to join in on the fun. Not sure you want to shell out the money? Try the lite verson; it has fewer features but it does much the same thing.