You are using an outdated browser. Please
upgrade your browser to improve your experience.

OT Screen works as a dedicated camera for an OT synthesizer

OT Screen
by Christian Rusche
What is it about?
OT Screen works as a dedicated camera for an OT synthesizer. It makes the screen larger and easier to read. It can be used with a periscope lens or without.
App Store Description
OT Screen works as a dedicated camera for an OT synthesizer. It makes the screen larger and easier to read. It can be used with a periscope lens or without.
The app tries to display a very high-contrast OLED display like some synthesizers have, large and nice. Without such a display in front of the iPad Camera the screen will simply remain black, but with a display it is pure magic and maybe helpful.
On startup, the user is asked if OT Screen is allowed to use the camera. If the user declines, the app will still start but the camera not be read out. The user can change this later in the iPad's settings.
The user interface adapts to the orientation of the iPad (landscape left/right, portrait, upside down): the buttons are positioned differently depending on the orientation to ensure that the camera lens doesn't cover the buttons and to make the most of the screen's size.
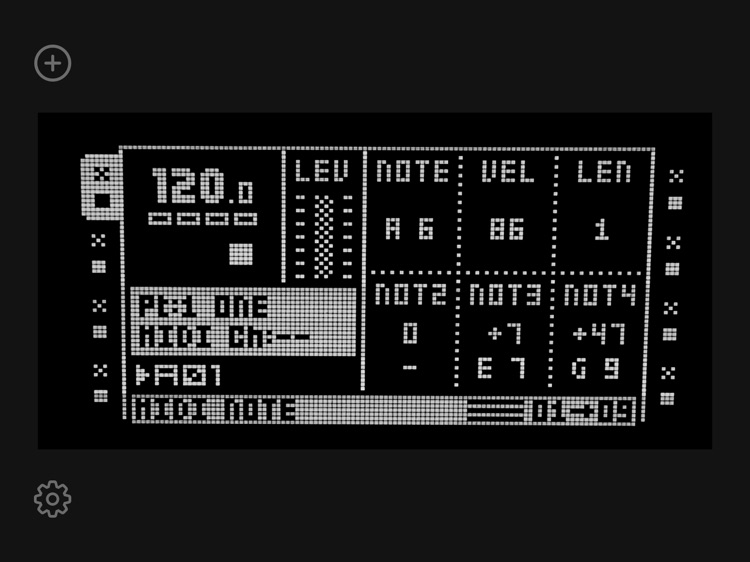
In the middle of the screen appears the enlarged image of the synthesizer: without correct positioning, it may be black at the beginning and not properly aligned: the default settings are such that the OT screen is drawn with extreme contrast and very low exposure to make it look nice. For a "normal" camera image, however, this simply results in a black screen.
Next to the Settings button, in the top left corner, is a button for selecting the mode:
- Default
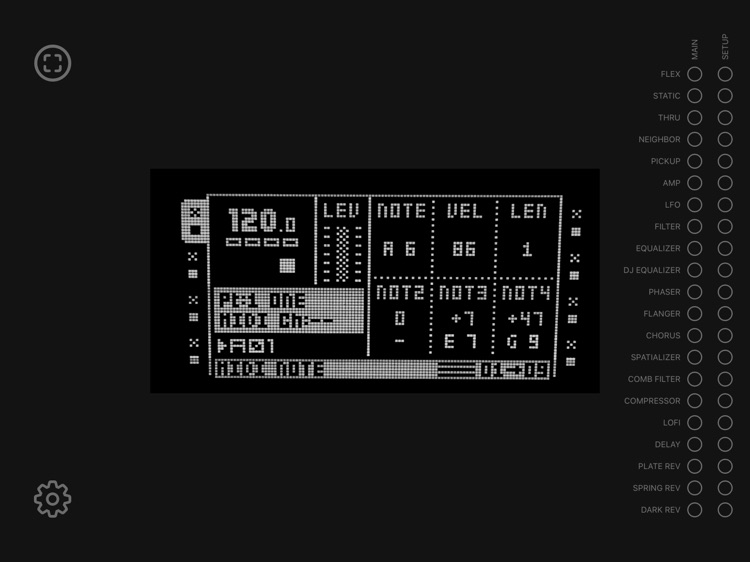
- Manual: shows the information of the manual as an overlay, and the page to be shown can be selected manually by pressing the small circles.
- Detect manual. Also shows the manual, the correct page will be detected automatically - but don't expect too much.
- Zoom: Enlarges the screen.
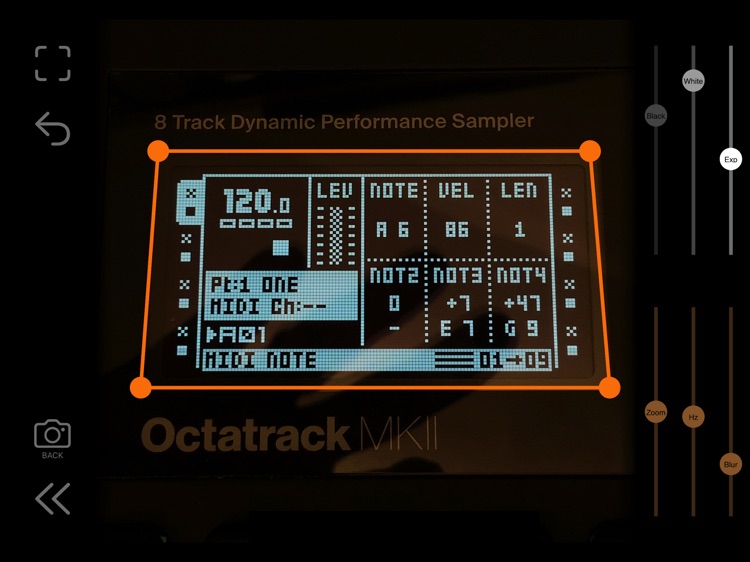
Settings: The camera is displayed here with normal colors. When the user touches a slider, the colors are displayed in the same way as on the main screen. In the center of the screen, you can set which area of the camera is used for display on the main screen. The button in the top left-hand corner can be used to automatically detect the screen.
There are 6 sliders to adjust the camera. The settings are not like a normal camera but optimized for a bright OLED screen. The button in the top left corner resets the values to a default value.
- Black, White: Define how gray or black/white the image will be.
- Exposure: Basic brightness of the image.
- Zoom: Zoom
- Hz: Refresh rate must be adjusted slightly so that the screen does not flicker.
- Blur: Makes the image slightly blurry but helps reduce flickering.
The Camera button determines which camera is being used and whether a lens is attached:
- Lens Top: The front camera is used with an external periscope lens. The camera is located at the top of the device.
- Lens Middle: The front camera is used with an external periscope lens. The camera is located in the middle of the device.
- Back: The rear camera is used.
- Lens - Back: The rear camera is used, with an additional periscope lens.
Disclaimer:
AppAdvice does not own this application and only provides images and links contained in the iTunes Search API, to help our users find the best apps to download. If you are the developer of this app and would like your information removed, please send a request to takedown@appadvice.com and your information will be removed.
AppAdvice does not own this application and only provides images and links contained in the iTunes Search API, to help our users find the best apps to download. If you are the developer of this app and would like your information removed, please send a request to takedown@appadvice.com and your information will be removed.