You are using an outdated browser. Please
upgrade your browser to improve your experience.
## What is Voxelamming

Voxelamming
by Masaya Nagaoka

What is it about?
## What is Voxelamming?
App Screenshots
App Store Description
## What is Voxelamming?
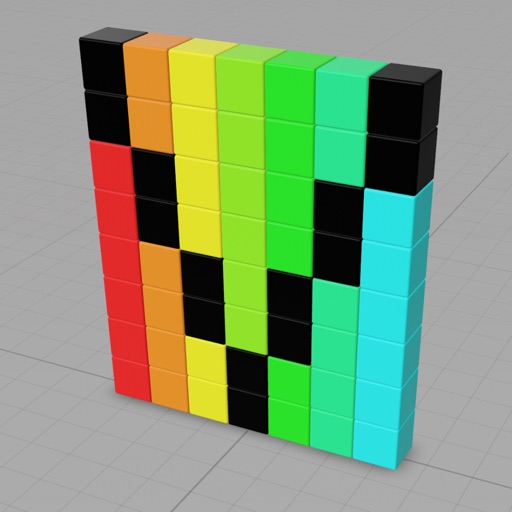
Voxelamming = Voxel + Programming
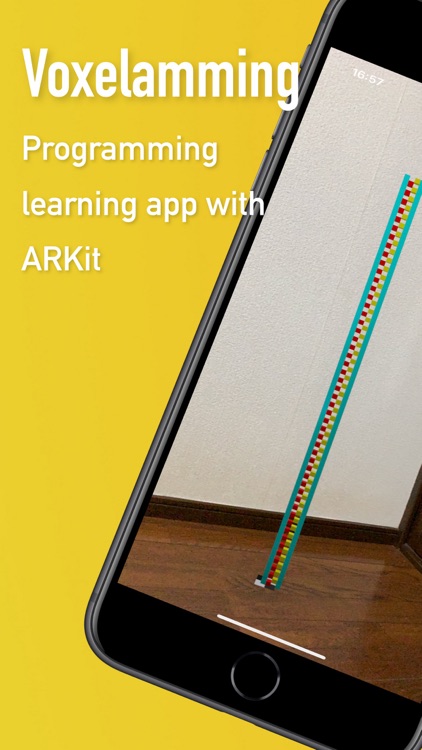
Voxelamming is a programming learning app with ARKit. It can be used for free on ARKit-compatible iPhones and iPads (iOS 13 and above). You can have fun placing voxels (the smallest units in 3D space, similar to pixels) in a virtual space that you have programmed on your computer.
## How to Use
### Preparing Your Computer
Both Windows and Mac are supported. If the programming language (Python, Node.js, Ruby, Swift) is not installed on your computer, please install the language you want to use. Data communication between the computer and the device (iPhone, iPad) uses an Internet connection (they do not need to be connected to the same network). Once this is done, your computer is ready.
### Placing a Plane Anchor
Launch the voxelamming app. The first time you launch the app, it will ask for permission to use the camera, please grant it by selecting "Yes". Once the camera is launched, ARKit will automatically search for a real-world plane. When the plane detection marker (red-green-blue coordinate axes) appears, tap the screen to place a plane anchor. The plane anchor is made up of black and white tiles. With this, you are ready to place voxels.
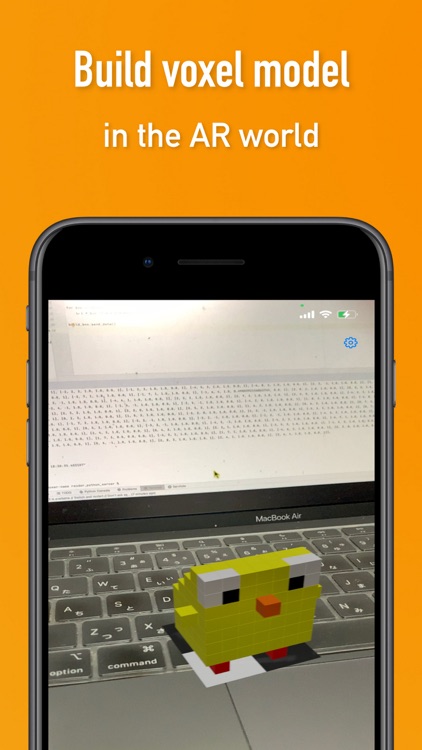
### Modeling (Programming) Voxels
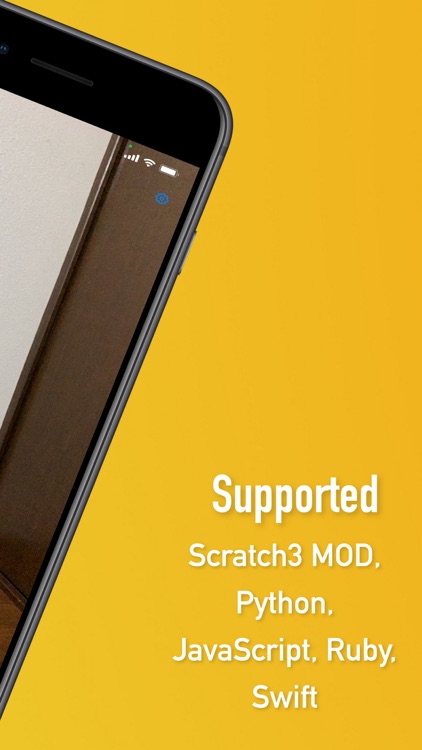
On your computer (Windows, Mac), program the "voxel data" for modeling the voxels. The voxel data includes information such as "location, color, size, and placement interval". The supported languages are Scratch3 MOD, Python, JavaScript (Node.js), Ruby, and Swift.
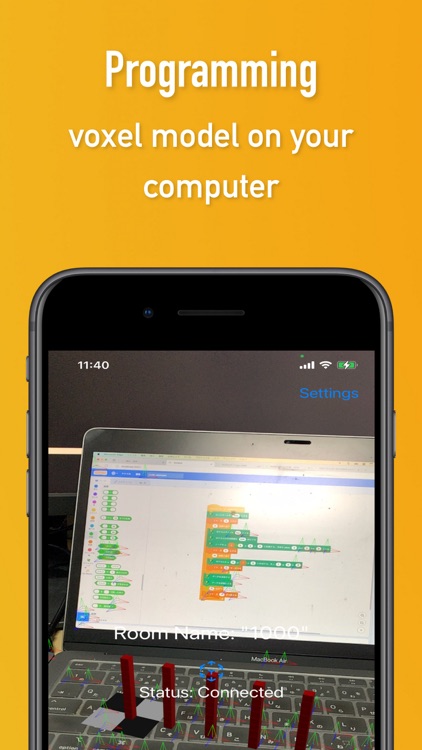
Let's create a script. Please refer to the scripts in the sample folder. Don't forget to match the variable room_name (roomName) to the string displayed in the center of the device (iPhone, iPad) screen in order to connect to the WebSocket server's room.
Then, use the loop and conditional expressions of each language to create voxel data. The position of the voxel is specified by the x, y, and z axis values, with the plane anchor as the reference. The x-axis represents left and right, the y-axis represents up and down, and the z-axis represents depth (the front is positive) (the unit is centimeters). The size of the voxel is specified as a decimal based on 1.0 cm. The color is specified as a decimal from 0 to 1 in RGB values. Then, specify the interval at which voxels are placed in seconds. By specifying the interval at which voxels are placed, the voxels will be placed over time instead of all at once.
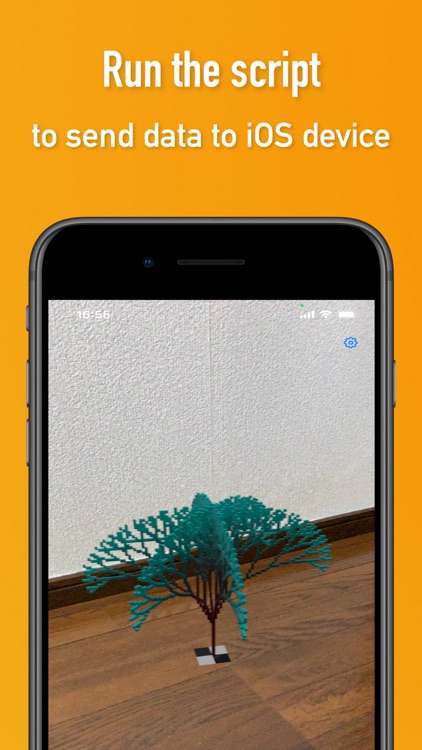
### Build AR Voxels
When you run the script, the voxel data is sent to the device (iPhone, iPad) via WebSocket communication. Once the data is received, AR voxels are placed based on the plane anchor on the device screen.
If the WebSocket server is on break, data transmission may fail. In that case, please wait for a while and try again.
Disclaimer:
AppAdvice does not own this application and only provides images and links contained in the iTunes Search API, to help our users find the best apps to download. If you are the developer of this app and would like your information removed, please send a request to takedown@appadvice.com and your information will be removed.
AppAdvice does not own this application and only provides images and links contained in the iTunes Search API, to help our users find the best apps to download. If you are the developer of this app and would like your information removed, please send a request to takedown@appadvice.com and your information will be removed.