
How to save voice mail and text messages to your Mac
Voice mail and text messages are important pieces of communication. Many people like to save them forever, whether it’s for evidence later on or nostalgia. These messages, however, are also prone to accidental deletion and data loss for other reasons. With that in mind, it’s important to archive your voice mail and text messages on your computer, but how can you pull that off?
Saving your voice mail messages to your computer requires third-party software, because the capability is not built into the integration between iOS and iTunes on OS X or Windows. There are some choices out there, but one of the most comprehensive alternatives is iMazing, formerly known as DiskAid. The iMazing software works with every iPhone ever made and makes it easy to store your voice mail messages on your Mac or PC. For text messages, you could forward the thread to your email, but iMazing works wonderfully for this purpose, and it’s a lot easier.
To transfer your voice mail and text messages to your Mac or PC, just follow these simple steps.
If your iPhone is not jailbroken
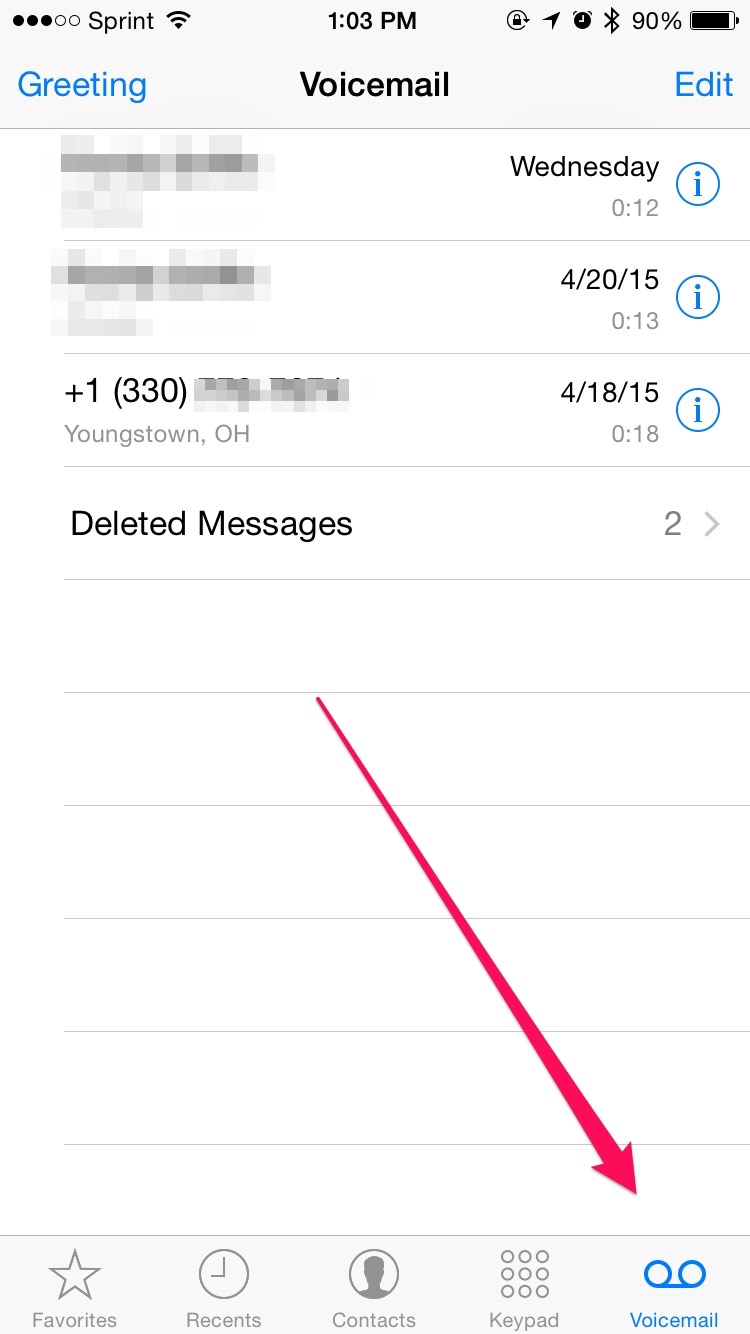
1. Make sure you’re using Visual Voice Mail
Not every carrier supports Visual Voice Mail, so you want to make sure yours does before going any further. Luckily, there is an easy way to find out if your iPhone is set up for Visual Voice Mail:
- On your iPhone, open the Phone app.
- Tap on the Voice Mail icon on the right of the bottom bar.
- If you see a list of recordings, you have Visual Voice Mail.
- If your iPhone calls a voice mail server, your carrier does not support Visual Voice Mail, and you will not be able to download your messages at all.
2. Purchase and install iMazing
You can download and install iMazing for either Mac or Windows from the company’s Web site. There is a free trial available, but it has limitations that might prevent you from saving your voice mail messages to your computer. A single user license costs $29.99 and covers up to three computers and unlimited iOS devices.
3. Launch iMazing and connect your iPhone
Once you’ve installed the software, launch iMazing and connect your iPhone. You should see a screen like this one. In the sidebar, click the triangle next to Phone to open up options for “Call History” and “Voicemail.”

4. Download your voice mail messages
If you click “Voicemail,” iMazing will start backing up your iPhone. Once that’s finished, a list of your voice mail messages will appear in the application. Select the voice mail message or messages you want to archive, and then click Export. The program will ask where you wish to save the files, so choose your destination and click Choose.

5. Download your text messages
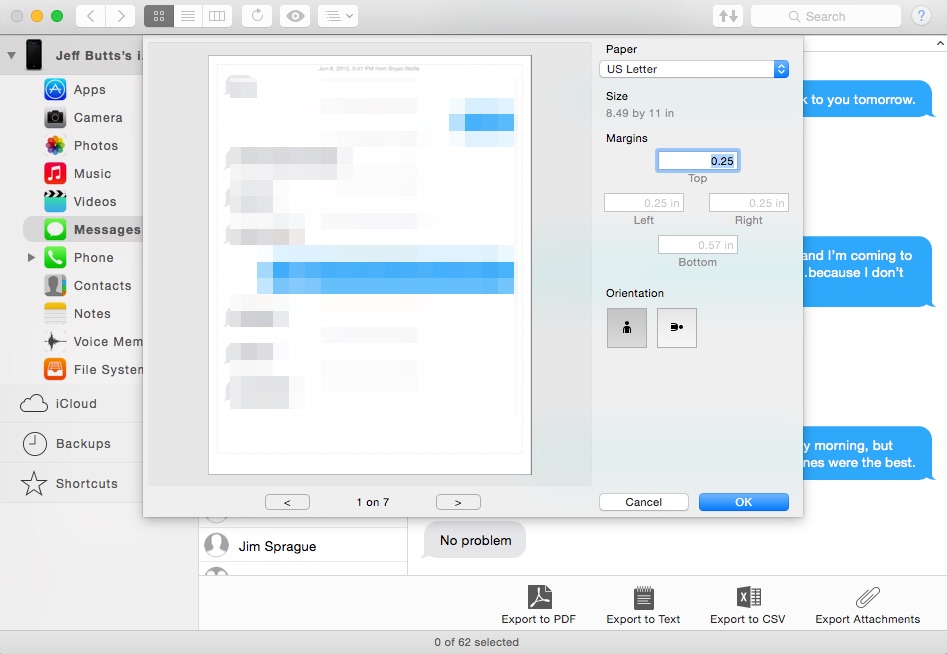
Next, click on Messages, and you will see all of your iMessage and SMS threads. Click the group or groups you want to save, and then find your favorite export option at the bottom of the screen. You can export to PDF, text file, comma separated values (CSV) spreadsheet, or just save the attachments.

One nice feature is that when you export to PDF, you can set the page size, margins, and orientation.
That’s all, folks! In five simple steps, you can get those important voice mail and text messages off of your non-jailbroken iPhone and onto your computer for easy backup and storage.
If your iPhone is jailbroken
If you’ve jailbroken your iPhone, you have another option that doesn’t cost anything at all to download your voice mail messages. Available through the Cydia app store, VoicemailForwarder gives you a new button that allows you to forward your messages via email. Once you install VoicemailForwarder, an export button will appear on the information page for each message. Tap that button, and you’ll be able to insert the voice mail message into an email to yourself or someone else. The one drawback to VoicemailForwarder is that it was last updated with iOS 6.1, and may not work with newer versions of the iPhone operating system.

For text messages, you can download your history using FTP. Follow these five steps, and you’ll have your text messages saved into a spreadsheet for easy use.
1. FTP into your iPhone
The first thing you need to do is access your iPhone with an FTP client. These directions will get you exactly where you need to be to start downloading your text messages.
2. Get into the right directory
You’ll need to navigate to /var/mobile/Library/SMS to locate the file containing all of your text messages. Once there, drag the file sms.db into the folder you want to store it in, and then it’s time for the next step.

3. Download an SQLite database browser
It’s your choice which database browser you use, but DB Browser for SQLite is free for almost any operating system there is.
4. Open the SMS database file
Once you’ve installed your database browser, you can open the sms.db file. Click on the “Browse Data” tab towards the top, and select the “message” table from the dropdown list. You should see something like this:

That might look confusing, but the next step will make it all come together in a nice file that is easy to search.
5. Save it to a spreadsheet
Finally, go to File -> Export -> Table as CSV File. Save this file, and then you can open it in any spreadsheet program you want. If you have trouble opening the file, make sure it has the .csv file extension.
There you go, two methods each to save your voice mail and text messages to your computer. For even more tips and tricks, keep reading AppAdvice. We have more in store for you.

