You are using an outdated browser. Please
upgrade your browser to improve your experience.

ImageOptimizationSlim(ImageOptSlim) is a very easy operation, and process photo lightens, darkens, clearly, dimly, vivid, noise reduction and is an application program for iPhone / iPod touch

ImageOptimizationSlim
by Masato Hazama
What is it about?
ImageOptimizationSlim(ImageOptSlim) is a very easy operation, and process photo lightens, darkens, clearly, dimly, vivid, noise reduction and is an application program for iPhone / iPod touch.
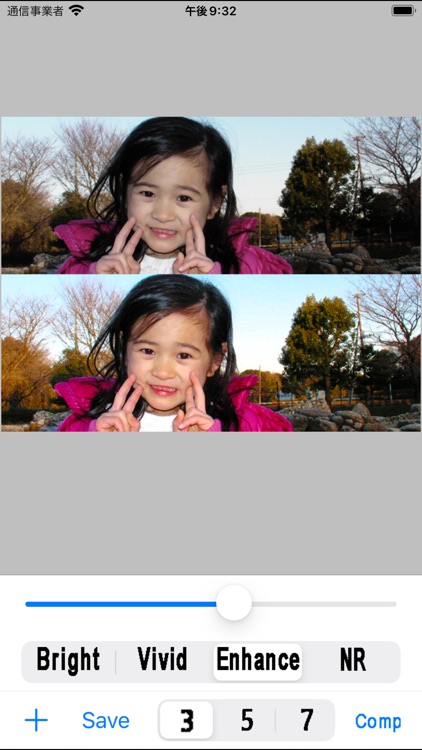
App Screenshots
App Store Description
ImageOptimizationSlim(ImageOptSlim) is a very easy operation, and process photo lightens, darkens, clearly, dimly, vivid, noise reduction and is an application program for iPhone / iPod touch.
The processed photograph maintains the aspect ratio, scaling is carried out from 480 pixels to original photography size.
In the Settings app, the output resolution can be chosen from the original, 2048, 1024, 960, 720, and 480 pixel.
The operation is as follows.
Step1. When you touch the "+" button the photograph processed from PhotoLibrary is chosen touching.
Step2. You chose the Bright or the Vivid or the Enhance or the NR.
The Bright makes them lightened or darkened.
The Vivid makes tone vivid.
The Enhance makes them clearly or dimly.
The NR makes their noise reduced.
Step3. Strength of the effect is adjusted by operating the slide bar.
Step4. The evaluation range of an effect is chosen from the lower right choice of 3-5-7. An effect comes out of a bigger number strongly.
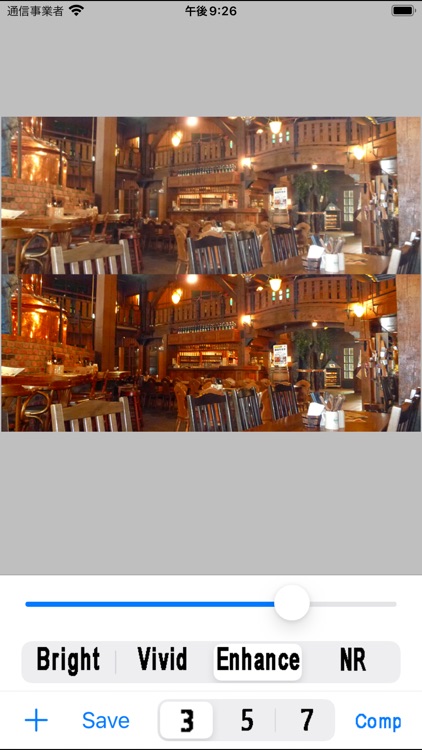
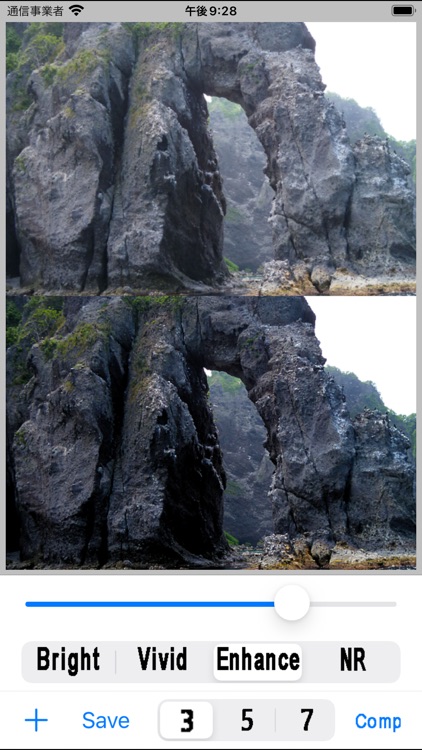
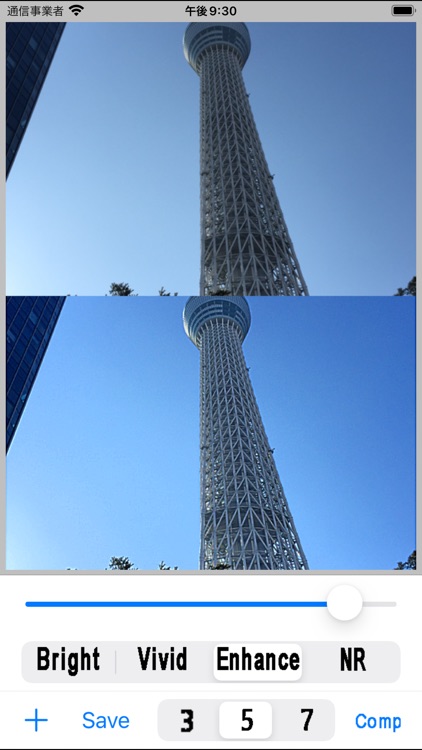
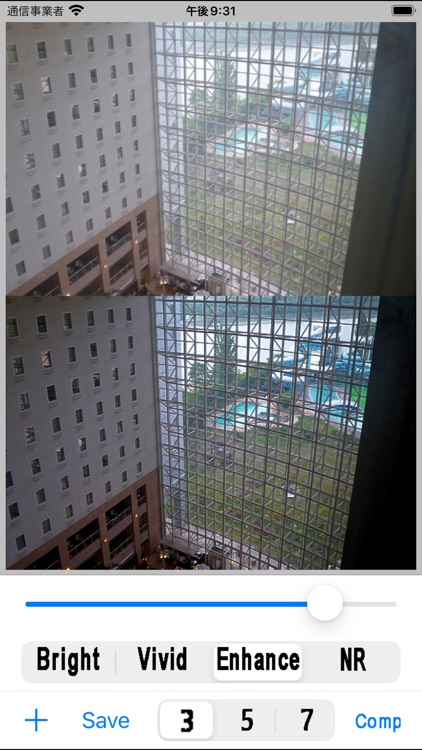
Step5. If you touch the "Comp" button, the photo displayed to an original image (up) and the effect image (under) at the same time, and the effects can be compared.
Step6. When you touch the "Save" button, the confirmation dialog is displayed, and the processed photograph is added to SavedPhoto when "O.K." touching.
Disclaimer:
AppAdvice does not own this application and only provides images and links contained in the iTunes Search API, to help our users find the best apps to download. If you are the developer of this app and would like your information removed, please send a request to takedown@appadvice.com and your information will be removed.
AppAdvice does not own this application and only provides images and links contained in the iTunes Search API, to help our users find the best apps to download. If you are the developer of this app and would like your information removed, please send a request to takedown@appadvice.com and your information will be removed.