
Regain iMessage Privacy and Stop Spamming Your Other Devices
If you’re the proud owner of multiple Apple devices like iPhones, iPads, and Macs, you probably signed into each one of them with the same Apple ID. This likely means that your iMessages show up on all of them and your FaceTime calls go to your computer, too. For many people, this is a bad privacy practice. This is especially true when other people are actually using those other Apple devices, or you’re signed into a company- or state-issued iOS device with your personal Apple ID. If you want to regain iMessage privacy and stop FaceTime calls from going to the wrong places, here’s how to do it.
First, Figure out Where You’re Logged in From

The first step is to run a little audit of which devices are using your Apple ID. With the latest changes to iOS 10.3.1, you can do that straight from your iPhone or iPad. Just go to Settings and tap your iCloud account at the top of the screen. Scroll down a bit and you’ll see all of the devices your Apple ID is currently signed into. If you see one you don’t recognize or you want to quickly remove, you can tap on it and then tap Remove From Account. Note that you don’t have to remove it from your account to stop iMessages and FaceTime from going to that device.
Stop iMessages From Going to the Wrong Devices
Chances are, you won’t want to log out of your Apple ID completely on those extra devices. You just want to stop iMessages and FaceTime calls from going to them.
Disabling iMessage and FaceTime on iOS
On an iPhone, iPad, or iPod Touch, you disable iMessage from Settings > Messages.
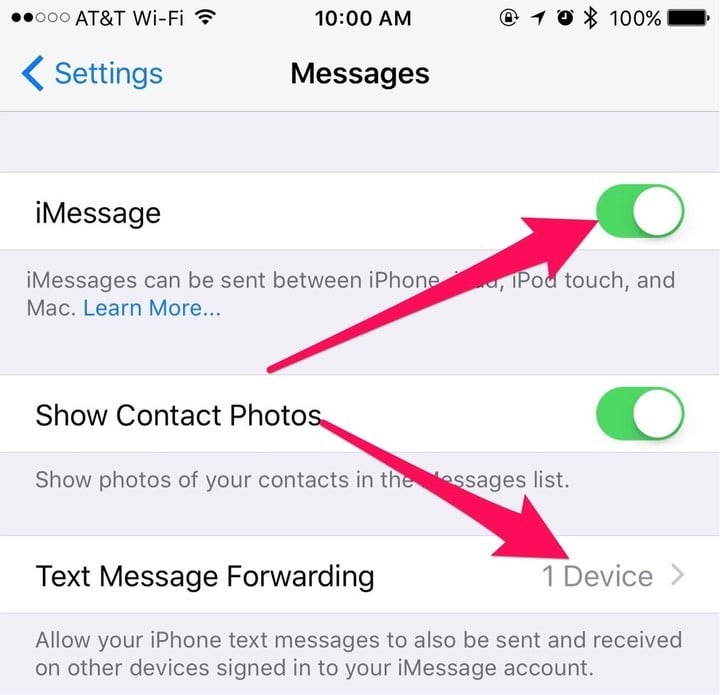
Switch the iMessage toggle off
You may also want to disable Text Message Forwarding.
Next, let’s disable FaceTime. Go to Settings > FaceTime.

Repeat step 1 with FaceTime's preferences
Turning Off iMessage and FaceTime on Your Mac
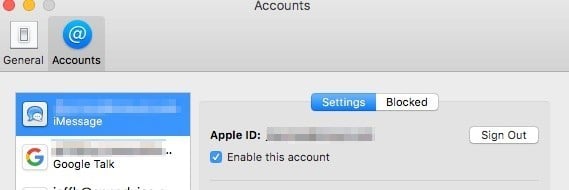
So, now we’re going to disable iMessages on your Mac, assuming that’s in your master privacy scheme. It’s pretty easy. Open Messages, then click Messages > Preferences, selecting the Accounts tab. You’ll see your iMessage account. Click the Sign Out button from that account. That will prevent iMessages from being sent to your Mac.
Next, open FaceTime and then click FaceTime > Preferences > Accounts, then click Sign Out next to your Apple ID.
Wouldn’t It Be Easier to Just Sign Out of my Apple ID?
Yes, that would be easier. However, if you signed out of your Apple ID on the other devices, you’d lose access to the App Store, iTunes, and Apple Music. You’d also lose your iCloud email, if you use it, as well as the iCloud integration for your Apple and third-party apps. Of course, if other people in your household are using those additional devices, it might be better to assign them each their own Apple ID and set up Family Sharing.
