The Art of Letting Go: What You Need to Do Before Selling Your iPhone
Are you planning on selling your old iPhone after getting a brand spanking new one over the holidays? Or are you looking to trade it in for the latest and greatest model? Or perhaps you want to hand it down to a family member or give it away to your significant other? Or maybe, for whatever reason, you’re intent on crossing over to the other side, having decided to ditch it in favor of an Android device? In any case, you don’t just up and pass it on to its new owner. Mostly for your security but also for the convenience of the other party, there are some things you need to do before selling your iPhone. And this AppAdvice how-to guide is here to walk you through them.
The Beginning Backup
The first consequential thing you need to do before selling your iPhone — or before doing anything drastic or otherwise substantial to your device, for that matter — is to back up its content. This way, you’ll have a copy of your device’s content to migrate to your new device, particularly if that new device is another iPhone.
You can back up your iPhone in two ways: with iCloud and with iTunes.
You can decide to use just one of the methods, whichever is better for you. But if you want to have an alternative backup, you’re free to use both.

How to back up with iCloud
Make sure your iPhone is connected to a Wi-Fi network.
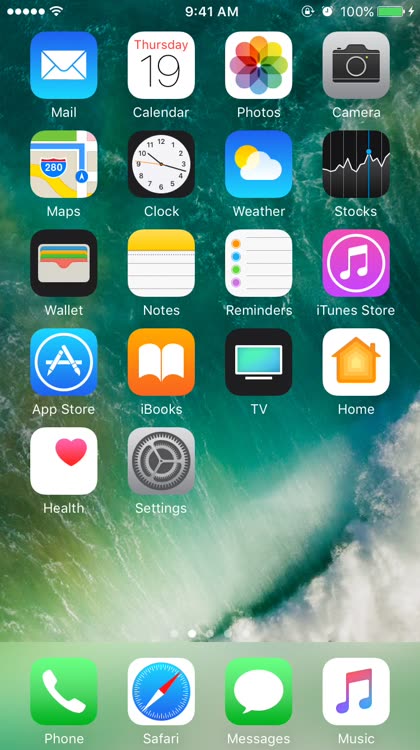
Open the Settings app on your iPhone.
Tap iCloud.
Tap Backup.
Make sure iCloud Backup is turned on.
Tap Back Up Now.
The backup process will commence shortly. Make sure to stay connected to Wi-Fi until it’s completed.

How to back up with iTunes
Connect your iPhone to your computer via USB cable.
On your Mac or PC, open iTunes.
If prompted to provide your device passcode or to trust the computer, follow the onscreen instructions.
Tap the iPhone icon at the top.
Under the Backups heading in the Summary panel, click Back Up Now. The backup process will then begin.
If you want to also include your account passwords and Health and HomeKit data in your backup, click the check box for “Encrypt iPhone backup” and set an encryption password. The backup process will start right away.
The Significant Sign-Out
Prior to selling your iPhone, you also need to disconnect it from certain Apple services. In particular, you have to sign out of iCloud and the iTunes and App Stores on the device.

How to sign out of iCloud
Open the Settings app on your iPhone.
Tap iCloud.
Tap Sign Out.
Tap Sign Out again, this time on the pop-up message.
Tap Delete from My iPhone.
Tap Delete from My iPhone again.
If you turned on Find My iPhone, you might be prompted to enter your Apple ID and password to turn it off. Learn more about Find My iPhone by reading this AppAdvice article.

How to sign out of the iTunes and App Stores
Open the Settings app on your iPhone.
Tap iTunes & App Store.
Tap your Apple ID.
Tap Sign Out.
If you’re switching from an iPhone to an Android or any other kind of non-Apple phone, you also have to deregister iMessage, effectively removing your phone number’s association with Apple’s messaging service. Failing to do so might result in your new phone’s inability to receive text messages sent from an iPhone — a scenario dubbed “iMessage purgatory.”

How to deregister iMessage
Make sure that your SIM card is still in your iPhone and that your device is connected to your cellular network.
Open the Settings app on your iPhone.
Tap Messages.
Turn off iMessage.
Go back to the main Settings screen.
Tap FaceTime.
Turn off FaceTime.
You also need to take the precaution of disabling FaceTime since it’s also associated with your phone number.
The Decisive Dissociation
Ideally, signing out of iCloud and other Apple services on your iPhone should automatically dissociate and de-authorize the device from then on. But it is more likely that, before selling your iPhone, you’ll need to accomplish this manually, at least with regard to iCloud (for accessing various cloud storage and syncing features), iTunes in the Cloud (for downloading previously purchased content), and Apple ID (for managing trusted devices).

How to dissociate your iPhone from iCloud
On a web browser on your computer, go to icloud.com/settings.
Sign in with the Apple ID and password you use with iCloud.
If two-factor authentication is enabled for your account, follow the prompts and provide the required confirmation to complete the sign-in process.
Under the My Devices heading, click the name of your iPhone.
On the list of devices, click the “x” button beside the name of your iPhone.
How to disocciate your iPhone from iTunes in the Cloud
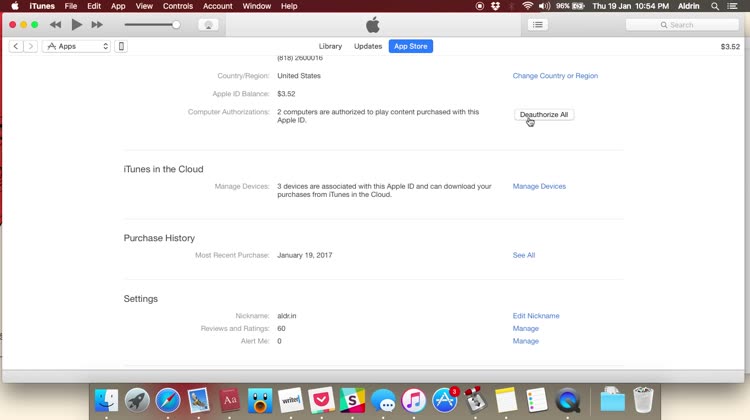
Open iTunes on your computer.
On the iTunes menu bar, click Account.
If you’re not yet signed in, click Sign In, enter your Apple ID and password, click Account on the iTunes menu bar again, and click View My Account.
If you’re already signed in, click View My Account and enter your Apple ID and password.
Under the iTunes in the Cloud heading, click Manage Devices.
Look for the name of your iPhone and make sure it’s the right one by also looking at the date when it was associated with iTunes in the Cloud.
Click the Remove button for your iPhone.
Click the Done button.

How to dissociate your iPhone from your Apple ID
On a web browser on your computer, go to appleid.apple.com.
Sign in with your Apple ID and password.
If two-factor authentication is enabled for your account, follow the prompts and provide the required confirmation to complete the sign-in process.
Under the Devices heading, click the name of your iPhone.
In the pop-up panel, click Remove.
In the confirmation box, click “Remove this iPhone.”
The Essential Erasure
And now we come to the point of no return. This is the procedure in preparation to selling your iPhone that signifies that you really are ready to let go of your device. It’s the irreversible operation that erases all content and settings on your iPhone (including photos, messages, Touch ID fingerprints, Apple Pay cards, the works), effectively resetting the device’s software to factory condition.

How to completely reset your iPhone
Open the Settings app on your iPhone.
Tap General.
Tap Reset.
Tap Erase All Content and Settings.
If asked for your device passcode or Restrictions passcode, enter it.
Tap Erase iPhone on the pop-up message.
Tap Erase iPhone, this time on the confirmation pop-up message.
The reset will begin immediately. Wait several minutes for the process to complete, whereupon the iPhone will display the “Hello” device setup screen. Press the power button on the iPhone to turn it off.
The Concluding Cleanup
Now that your iPhone is practically new on the inside, all that’s left to do is to make it look like new on the outside. To that end, make sure not to use any cleaning products that might damage the device, such as aerosol sprays and solvents. Just take a soft, slightly damp, lint-free cloth — not a potentially abrasive cleaning material like a towel or tissue paper — and use it to gently wipe the device’s surfaces clean of dirt, particularly the dirt that might have accumulated around the SIM tray opening.
Speaking of the SIM tray, remember to pop it open using the ejector tool that came with your iPhone, or a straightened paper clip, in order to remove your SIM card.
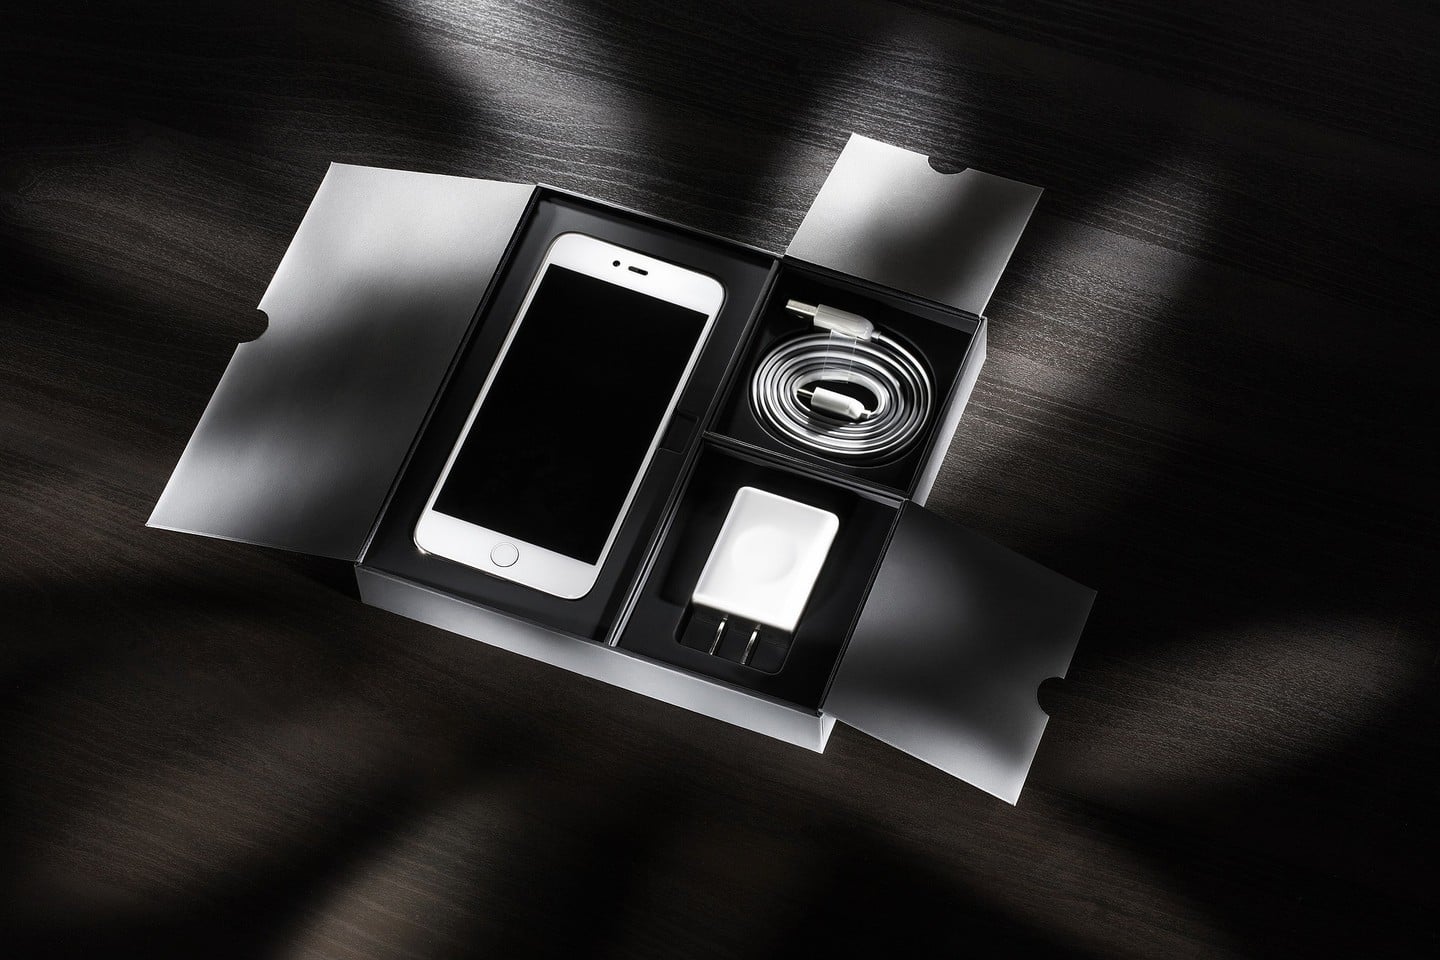
Finally, take your iPhone and its accompanying accessories (e.g. EarPods, wall charger, and USB cable) and put in in their original packaging, or in lieu of that, a decent-looking box or bag.

Get the gang back together.
Now you’re all set to sell it (as on eBay), trade it in (as with Gazelle), give it away, hand it down, or otherwise bid your iPhone a fond farewell.