The Inner Workings of the iPhone's Portrait Mode Photography
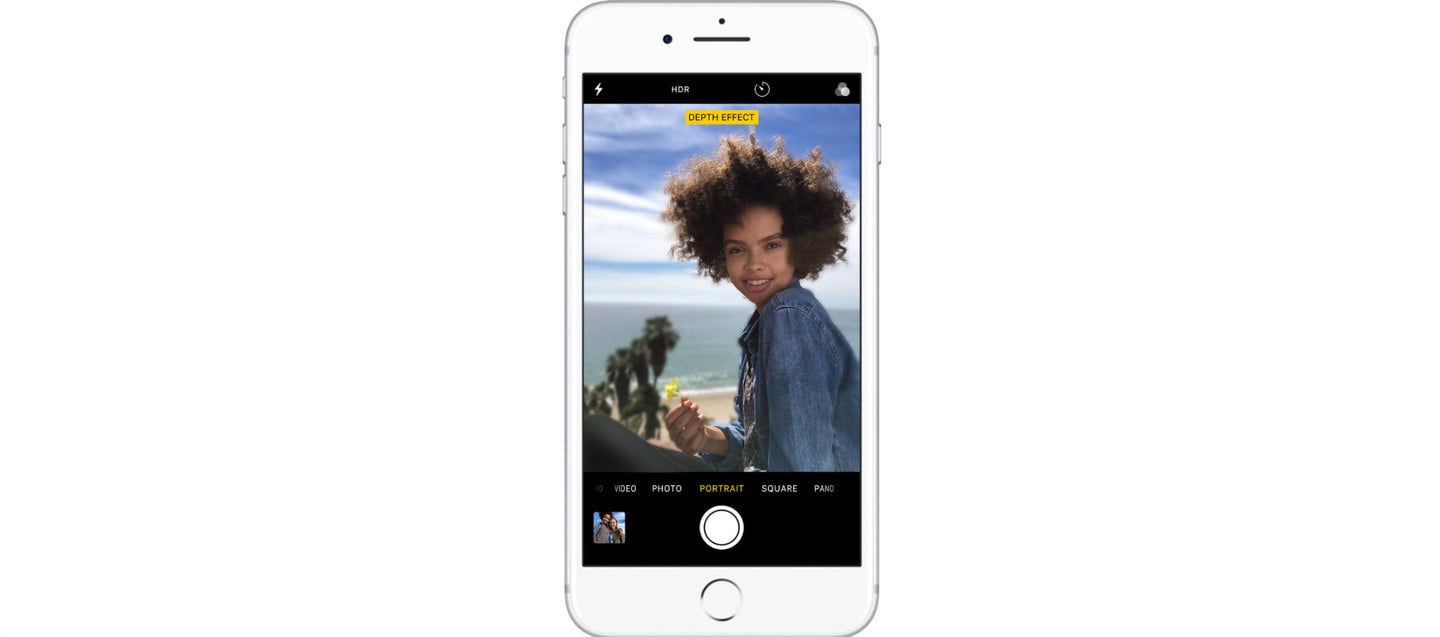
Portrait Mode on supported devices is an amazing feat of software engineering. It allows an iPhone 7 Plus, iPhone 8 Plus, or iPhone X to closely mimic an effect previously only available with expensive DSLR cameras and wide-angle lenses. Let’s take a look at what it does, and how it manages to produce such amazing photographs.
What Portrait Mode Achieves

Coarse bokeh on a photo shot using a DSLR camera with an 85 mm lens and 70 mm entrance pupil diameter, which corresponds to f/1.2.
Credit: carlosluisIn DSLR photography, the photographer is able to achieve a bokeh effect using a wide-angle lens. This provides a bigger opening for light to flow through, creating a narrow plane of focus.
Bokeh, in photography, is the aesthetic quality of the blur produced in the out-of-focus parts of an image. It’s also been defined as “the way the lens renders out-of-focus points of light.”

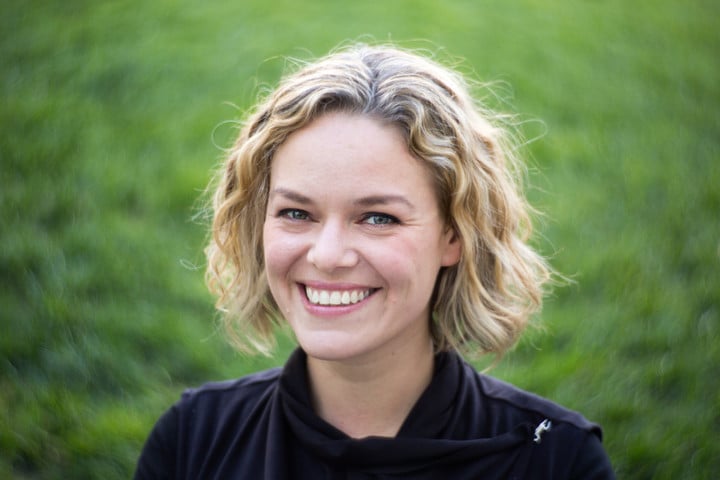
An example of a portrait photo (of Katherine Maher). Note the 'swirly' bokeh.
Credit: VGrigas (WMF)Previously, the various bokeh effects depended on lens aberrations and aperture shape, “bending” the blurred image in a way that is pleasing to the eye. With the iOS Portrait effect, it’s now possible to mimic bokeh, along with variations on that theme, using a supported iPhone.
Currently, the devices that support Portrait mode include:
- iPhone 7 Plus
- iPhone 8 Plus
- iPhone X
How Portrait Mode Works in iOS
Quite a bit of this isn’t discussed publicly (or privately, to my knowledge) by Apple, so this information is based on evaluating the Portrait images I’ve captured with my iPhone 7 Plus. Portrait Mode uses computational photography to join together composite images in an artistic way.


This all relies upon the dual-lens camera configuration in the supported devices. While an iPhone X does have a fairly wide-aperture lens, it’s so tiny that the bokeh effect is only noticeable at close distances. For longer shots, computational photography is required.
In essence, when you capture a Portrait Mode photograph, you’re actually taking two pictures at once. One is with the normal main lens of your rear-facing camera, while the second uses the telephoto lens. The Camera app then applies an algorithm to allow it to extend the range of noticeable bokeh out to approximately eight feet.
In the images above, you can see how this effect plays out. The photograph on the left is the Portrait Mode photograph, in which the background behind the Joseph of Nazareth statue is blurred out with a bokeh effect. For the image on the right, I’ve temporarily disabled Portrait Mode, so you can see the original composite image (still using both the main and telephoto lenses to capture separate shots).
Digging In Deeper
Your iPhone’s dual-lens configuration is able to see depth, much as your two eyes can view objects in three dimensions. The device creates a rough depth map of what it’s captured in the photograph, and uses that information to determine which parts of the frame are closer to or further from the lenses.
With that information in hand, your iPhone is able to blur out the parts of the image that aren’t the focal point. What’s interesting, though, is how this information is stored and presented to you, the user.
Editing Your Bokeh Effect
Everything is apparently stored in a way that the bokeh effect, along with other aspects of the image, can be non-destructively edited. Using apps like Focos, for example, you can change your focal point and even reverse the apertures (to make the foreground have the bokeh effect instead of the background, for instance).
You can also convert your Portrait Mode image to a regular photograph. Simply open the image in Photos, select to edit the photograph, and then tap the Portrait emblem in the top middle corner of the screen. If the emblem is yellow, Portrait Mode is enabled. If it isn’t yellow, the effect is turned off (but still available).
