Everything To Know About Your iPhone Camera
As the old dictum goes, “The best camera is the one you have with you.” In all likelihood, the camera that you always have with you is your iPhone camera. But the question is, are you making the best out of “the best camera”? You may not know it, but there’s more to the iPhone’s camera than simply shooting stills and selfies. It’s also packed with cool features that can have you snapping incredible images like a pro — features that we highlight in this here comprehensive guide.
Many of the features discussed in this post are supported only on Apple’s latest iPhones and mobile operating system versions. If you don’t see a feature on your device, it’s likely because you’re using an older iPhone model or running an older iOS version. It’s also worth noting that many of the features are also available on certain models of the iPod touch and the iPad.
TL;DR
Too Long? Watch a video instead!
Two cameras are better than one
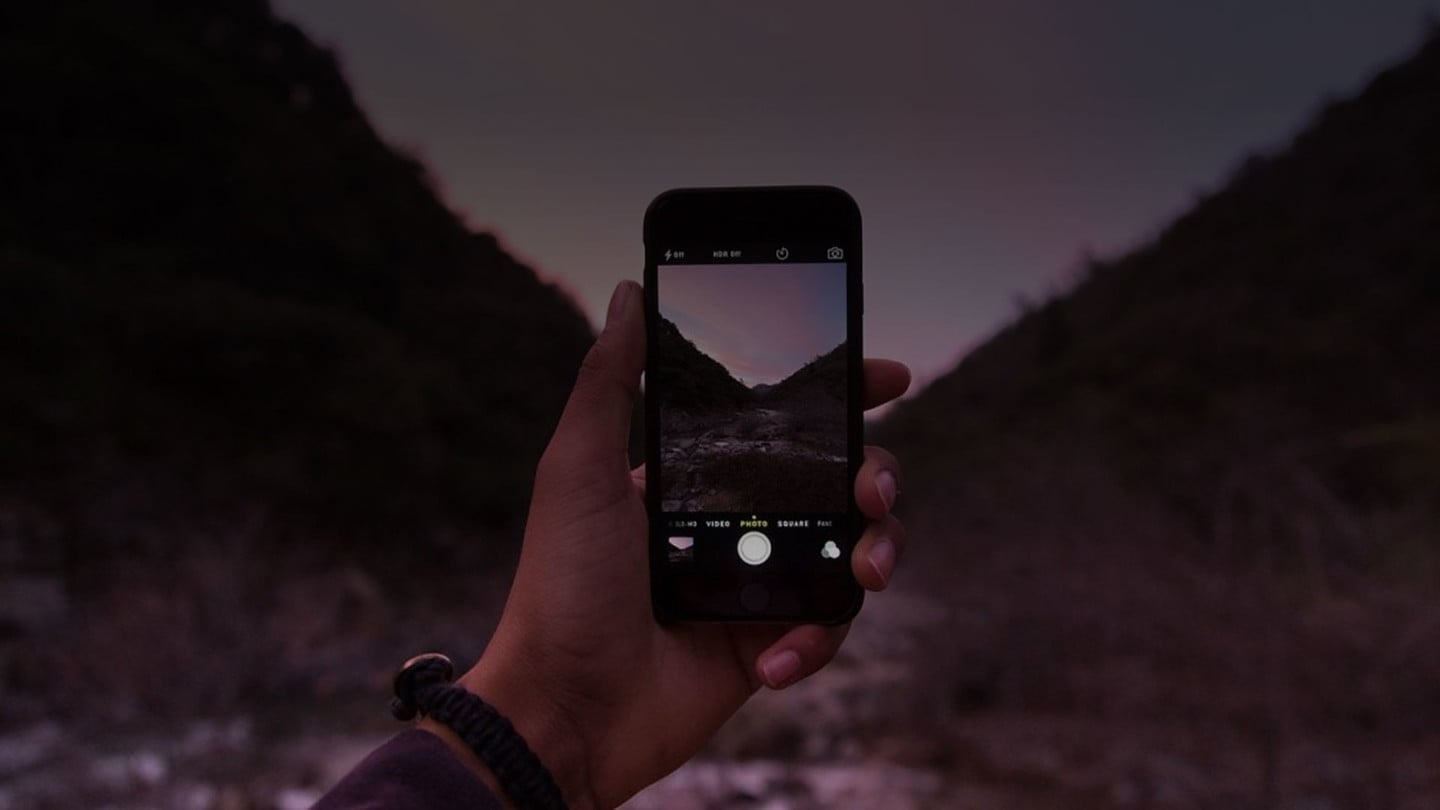
The iPhone's rear and front cameras

Switch between the iPhone's rear and front cameras.
The iPhone has not just one, but two cameras. There is, of course, the more frequently used rear camera, which Apple refers to as the iSight camera. There’s also the selfie-friendly front camera, also known as the FaceTime camera since it’s used for making FaceTime video calls. Most of the iPhone’s camera capabilities are commonly accessible between the rear and front cameras. But some, such as flash and slo-mo, are exclusive to the rear camera.
Unless you’re taking a selfie or huddling together with friends for a group photo, the rear camera is almost always the way to go. To switch between the rear and front cameras, tap the top right icon in the iPhone’s Camera app. Either way, you just have to tap the center button to record images or else to press either of the volume buttons of your iPhone or EarPods for added accessibility.
Lights, Camera app, action
The iPhone's built-in Camera app
To access the iPhone’s camera functions, you, of course, have to open the Camera app. Normally, the Camera app is accessed from the iPhone’s home screen. But if you’re anything like me, you may have developed a habit of opening the app from the Control Center: Just swipe up from the bottom of the screen and tap the camera icon. I find this to be way more convenient since it allows me to open the Camera app from anywhere on iOS. Also, you can quickly open the Camera app from the lock screen by swiping up the camera icon at the bottom right. These alternative methods of opening the Camera app can be invaluable at times when quick access to the app is important, when it’s crucial that the moment be captured before it’s gone.

There are other ways to access the Camera app.
Shoot it your way
The iPhone's capturing modes
The iPhone’s camera is capable of not only taking still images but also recording moving visual images. In other words, it can shoot both photos and videos. This is reflected in the six different capturing modes in the Camera app, half of which are for still imagery with the other half for video. You can switch between modes by swiping the screen or by tapping the name of the mode you’d like to shoot in.
Photo
Photo is, of course, the primary shooting mode. It lets you capture still images in landscape or portrait orientation in the full aspect ratio supported by your iPhone.
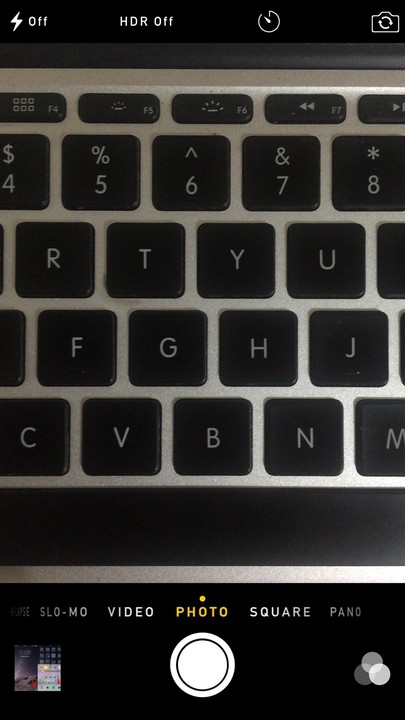
The iPhone camera's Photo mode.
Square
Square is just like Photo, except, as its name suggests, it shoots photos in square 1:1 aspect ratio. I often use this mode when I’m taking photos that I intend to upload to Instagram, which is widely credited for popularizing square images in social media.

Pano
Pano lets you create a panorama, or a photo containing a wide view of your surroundings. To create a panoramic image, move your iPhone continuously from one side of the view to the other while making sure that the guide arrow is kept on the center line. The default direction is from left to right. If you’re more comfortable shooting the other way around, just tap the image inset to reverse the direction.

The iPhone camera's Pano mode.
Video
Video is the mode for you if you wish to record a, well, video, either in landscape or (gasp) portrait orientation. Just tap the red center button to start recording and tap again to stop. In the interim, you can see the duration of your video in progress at the top of the screen and even snap stills while recording by tapping the bottom left button.
Slo-Mo
If you want to prove your potential as the next Spider-Man or record your wet dog shaking off water, or capture anything else in slow motion, Slo-Mo is the mode you should go to. Prior to recording, you can choose between 120 and 240 fps for the frame rate. While recording, as in Video mode, the duration of your video is indicated, and there’s a button for capturing individual frames.
Time-Lapse
While it’s meant for creating a certain type of video, Time-Lapse mode works by taking discrete photos at various intervals rather than recording a continuous video. It splices the snapped photos to produce a time-lapse video, which, if you’re a good enough iPhoneographer, can rival even the best presentations of the passage of time in “Breaking Bad.”
Cool cam capabilities
The iPhone camera's special tools and functions
The iPhone’s camera is capable of a lot of things. These can be tapped into through the various interface elements of the Camera app, which allows access to some special tools and auxiliary functions.
Some tools and functions are available only in certain shooting modes.
Burst
The iPhone camera's Burst mode continuously takes 10 photos per second.
Credit: AppleIn Photo or Square mode, you can enter Burst “submode” by pressing and holding the center button. This enables your iPhone to continuously capture 10 photos per second, from which you can select the best ones. This is particularly useful when taking group selfies, as with the Pope, or when anticipating a photo finish, unless of course the great American Pharoah is in the lead.
Flash
You can set your iPhone’s camera function by tapping the lightning bolt icon in the Camera app. You can disable it if you think you don’t need a brief burst of bright light for your photography. But if you’re shooting in poor light, you may want to turn on the flash function for your photo or video captures. You can also set flash to automatic to let the iPhone decide when to use it.
HDR
High-dynamic-range (HDR) imaging is ideal in conditions where a greater range of luminance levels is preferred. Tap HDR in the Camera app to set it to automatic, turn it on, or disable it. If enabled, HDR works with three separate exposures and blends their best parts into a single photo that has a greater dynamic range of luminosity. You can choose to save the normally exposed photo in addition to the HDR version by flipping the appropriate switch in the Settings app (see “Settings app” section below). Note that when HDR or flash is turned on, the other is automatically disabled.
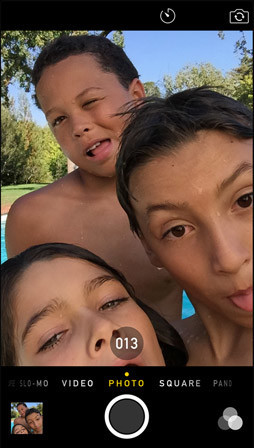
Timer

When the timer's up, the iPhone camera goes into burst mode.
Credit: AppleThe Camera app comes with a timer function that you can enable or disable by tapping the timer icon. You can set the timer for three or 10 seconds to, for example, give you and your friends enough time to get in frame when taking group shots with your iPhone set on a tripod. When shooting with the rear camera, the flash signals the counting down of the timer. The countdown timer is displayed on the screen whether you’re shooting with the rear or the front camera. Once the timer is up, the camera takes a series of photos in burst mode within one second so you can choose the one you like most.
Zoom
If, for some reason, you have to shoot someone or something from afar, you can zoom into your subject by pinching the screen. You can continue pinching in or out, or use the slider that appears at the bottom, to adjust the zoom level.
The iPhone camera employs digital zoom only, as opposed to the more preferable optical zoom. This means that when zooming in, the camera is essentially cropping the image down toward its center while maintaining its aspect ratio, with no resultant increase in optical resolution. So getting closer is still better.

Focus and Exposure controls
The iPhone camera also offers manual controls for adjusting the focus and exposure of your photo and video captures so that you can achieve or get as close as possible to your desired effects as far as depth of field and luminance are concerned. Just tap on a specific spot to focus the camera on it, whereupon it will be enclosed in a square. Beside the square is a vertical line with a sun icon, which indicates the level of exposure. Swipe up or down anywhere on the screen to adjust the exposure and lighten or darken your shots.
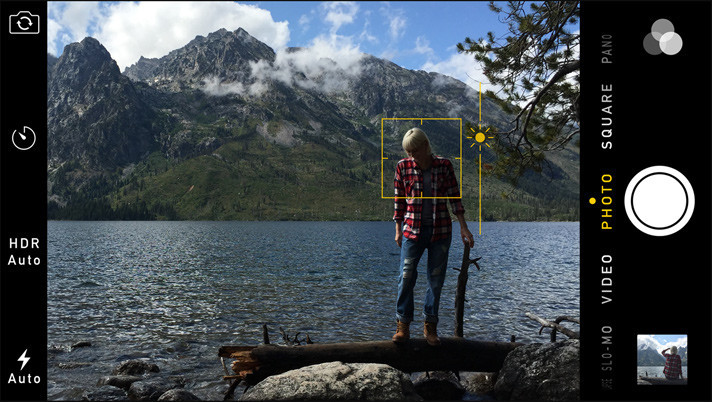
Tap and swipe on the viewfinder to manually adjust the focus and exposure of your shots.
Credit: AppleFilters
You need not go to Instagram, Aviary, or some other photo-editing app to apply filters to your pictures. You can do just that right within the Camera app and while you’re shooting photos. Just tap the icon showing three intertwined circles at the bottom right corner of the screen to pick from the app’s eight (yup, just eight) filters and apply your chosen filter in real time. You can also apply the filters after the fact in the Photos app.
Live Photos
The iPhone 6s and the iPhone 6s Plus sees the introduction of Live Photos, a feature that creates “living images” that are actually neither Vine-like videos nor animated GIFs. At first glance, a Live Photo appears to be no different from a still photo as it shows just that: a still photo, albeit a 12-megapixel one. But that’s just the normal state of a Live Photo. The “magic” happens when you press anywhere on the photo, whereupon it comes to life and plays, with both movement and sound, the brief moments just before and after it was taken.

Images come to life with Live Photos.
Live Photos are currently available iPhone 6s, iPhone 6s Plus, and iPhone SE only.
Live Photos is on by default, as indicated by the three-concentric-circles icon at the top of the photo-capturing screen. And you’ll know you’re taking a Live Photo when the word “LIVE” is displayed right below the icon.

Live on your iPhone 6s or 6s Plus ...
When you tap the shutter button, your iPhone automatically stores, along with the photo itself, the three seconds or so of movement and sound before and after the photo is taken. The aggregate clip, as it were, is then played when you press anywhere on the photo.
Contrary to expectations, Live Photos takes only twice as much storage space as normal photos. This is because the technology behind the feature saves one 12-megapixel image (the core photo) and another picture of about the same size with the “sidecar” data, or the differences in the photo on either 1.5-second side of captured image.
While browsing your camera roll, you’ll know a photo is a Live Photo if it moves fleetingly when you arrive at it.
Photos app
The Camera app is rightly linked up to the Photos app. By tapping the image inset at the bottom left corner of the screen, you can quickly open the Photos app and access the photos and videos you’ve taken. Then you can view your most recent capture or browse your photos and videos.
The Photos app stores all photos and videos taken with the camera in the Camera Roll. It also organizes all videos, slo-mo videos, time-lapse videos, and burst photos into separate albums.
In the Photos app, you can of course pan and zoom photos by swiping and pinching. In addition, you can jump to specific frames of videos using the handy slider at the top.
Aside from letting you view your photos and videos, the Photos app lets you edit them using a number of editing features. On a photo, tap the Edit button to access composition tools (rotate, straighten, crop with preset aspect ratios), filters, automatic and manual light and color adjustments, and third-party app extensions. On a slo-mo video, you can adjust the slider to set the specific segment of the video you’d like to play in slow motion.
The Photos app also includes options for sharing your creations in various ways.
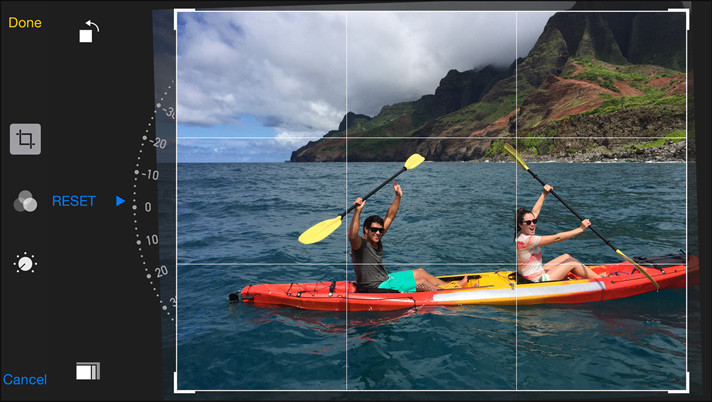
You can edit your captures in the Photos app.
Credit: Apple
Settings app

Do you follow the rule of thirds? Turn on Grid for the iPhone camera.
In the Settings app of your iPhone, you can toggle several features related to the camera. To access these toggles, go to Settings > Photos & Camera and scroll down to the Camera section. As mentioned above, here you can set whether to keep the normally exposed photo in addition to the HDR version. Here you can also enable or disable a couple of other camera features.
Grid: If you’re a staunch follower of the rule of thirds, you probably want to see a three-by-three grid overlay while shooting photos. To do so and frame your shots in accordance with the popular photography rule of thumb, just turn on Grid in the Settings app.
60 fps video: On the iPhone 6, the iPhone 6 Plus, the iPhone 6s, and the iPhone 6s Plus, you have the option to record 1080p HD at 60 fps, which makes for smoother and more realistic videos. This option can be turned on in the Settings app as well.
More than meets the eye
In addition to the tools and functions that are visible and accessible to the user, the iPhone camera has other features that “automagically” work behind the scenes to help you create great photos and videos. These include autofocus, face detection, and automatic image stabilization.
That’s a wrap
Photo finish
The iPhone has become the most popular camera in the world, as more photos taken from Apple’s handset are uploaded to social networks (primarily Flickr) than from any other camera. It has also become one of the most acclaimed cameras, with Apple recently taking the top prize in the Cannes Lions Outdoor competition for its “Shot on iPhone 6” ad campaign.


It just goes to show that you don’t need to have advanced technical know-how and own complex and expensive cameras like DSLRs to be able to capture great images. As often as not, all you need is an iPhone, with its small but terribly powerful camera.
And after taking your great photos, make sure you’re managing them properly (it’s not that hard) by checking out our iPhone photo management guide.
